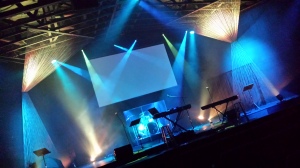

I imagine the very first ‘stage light’ was the light of a burning wood fire that illuminated the activities of our ancestors in pre-history. Eventually we progressed to candles and oil lamps, then gas, and finally, less than 150 years ago, electric light. This is a brief comparison of types of stage lights commonly in use these days: Incandescent, Halogen, HMI, and LED Lights.

INCANDESCENT LIGHT BULB:
This is the oldest form of electric light and has its roots in the technology developed by Thomas Edison and others. In a glass container filled with an inert gas, usually argon, a electric current is allowed to to flow through a filament, usually made of tungsten. When the power is high enough, the tungsten will shine brightly. An incandescent light bulb traditionally only emits about 5% light while 95% is given off in the form of heat.
Benefits
* Provides an even light without flicker.
* It’s simple to dim the light’s intensity, since brightness is directly proportional to the current.
Disadvantages
* Very high power consumption compared to the brightness
* Very high heat output compared to the brightness — poor energy exchange.
* The filament is consumed during the burn time, which results in a relatively short life span (maybe only 50-100 hours depending on handling). Also, the atoms released by the filament during burning settle on the inside of the glass container, which continuously reduces luminous efficiency and color spectrum.
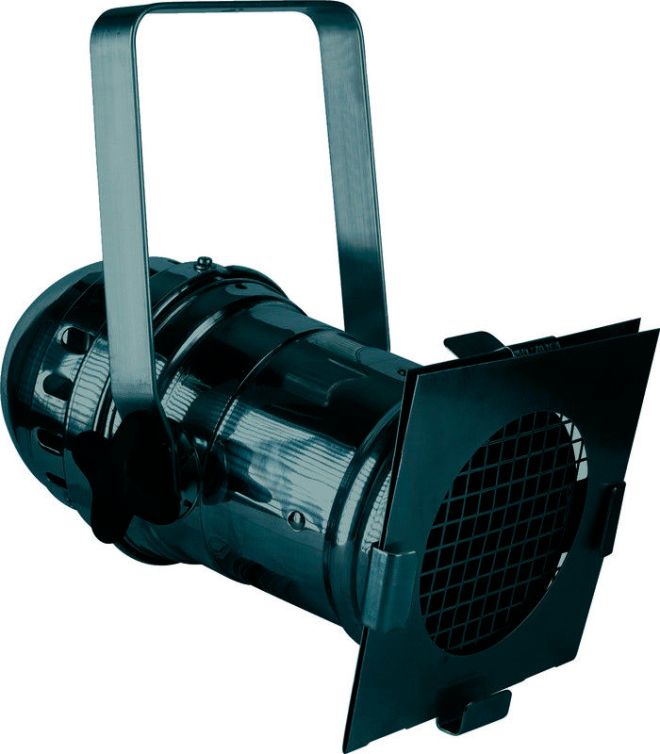
HALOGEN LAMP:
The halogen lamp is a further development of the incandescent light bulb, with argon being replaced by a halogen gas such as bromine or iodine. The filament has also been made thinner and has an increased burning temperature. This results in a 2-4x increase in service life, and a constant light output and color temperature throughout the lamp’s lifetime.
Benefits
* Produces even light with no flicker
* Easy to dim
* Constant light output and color temperature..
Disadvantages
* High power consumption compared to the brightness
* High heat output compared to the brightness
* High temperature of the filament makes it sensitive to mechanical impact and requires extra care in installation and use in order not to cause thermal damage to materials or people
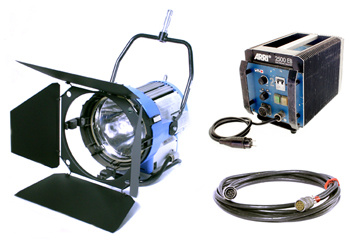
HMI LAMP:
HMI is an acronym for Hydrargyrum medium-arc iodide. (Hydrargyrum is Latin for mercury.) Unlike the previously described lamps, an HMI lamp has no filament. Instead, it uses mercury vapor mixed with metal halides in a quartz-glass envelope with two tungsten electrodes of medium arc separation.
In this electric arc, both the mercury vapor and metal halides create a light-emitting plasma, resulting in a luminous efficiency nearly four times that of a similarly powered halogen lamp. To ignite the arc and maintain the plasma, an external ballast is required.
Benefits
* Very high light output
* Very high color temperature
Disadvantages
* Requires external ballast for arc ignition (up to 70,000 volts)
* A magnetic ballast is cheap but big and clumsy and generates a light that may flicker on video. A magnetic ballast can only be dimmed by using a mechanical aperture.
* The electronic ballast allows dim of the light and be made flicker free, but is much more expensive.
* HMI lamps can explode, especially during the ignition of the arc. Most fixtures have guards in place to prevent injury from flying shards of hot glass, but it is still advisable to take caution. Explosion is more likely to happen if an HMI lamp is more than 50% of its specified usable life, or if it is dropped or otherwise severely jolted.
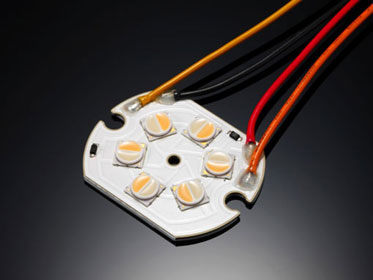
LED LAMP:
Unlike all other lamps, an LED light doesn’t “burn” at all. Instead, it uses semiconductor materials to provide light. Simply put, when a voltage is applied to an LED, electrons are allowed to recombine with so-called “electron holes” inside the semiconductor material, releasing energy in the form of photons (light particles). The effect is called electroluminescence. The color generated is determined by the ‘energy gap’ of the chip. The first practical LED was produced in 1962 — since then, they’ve dropped in cost from about $200 each to about $.05 each.
The technology is still developing, and it is now possible to manufacture LED chips with up to 5w power, though 3w is currently common. For higher brightness, several LED chips are combined, resulting in LED lights of up to 300w, usually made by combining 100 pieces of 3w chips.
For best effect, LED lights require special arrangements in the drive circuitry or they will have the same problem as the HMI — flicker on video or TV camera due to the driving voltage alternating current. Most professional LED stage lights today have anti-flicker circuitry.
Benefits
* Pure light without UV-artifacts
* Significantly better efficiency than traditional incandescent and halogen light bulbs
* Very low heat
* Much lower power consumption than incandescent, halogen or HMI
* Excellent dimming ability
* Very long lifespan — up to 100,000 hours
* Contains no toxic substances, making them very environmentally friendly
* Insensitive to shock
* Slow failure; unlike other light sources, LEDs ‘die’ slowly
* No risk of explosion
Disadvantages
* Color temperature changes over time
* Light output and color temperature can vary in relation to temperature
* Drive-sensitive, which requires very precise control of both voltage and current in order to avoid flicker, and to not damage the LED chips — LED lights should never be used on a dimmable circuit or with dimmer packs.
This post is adapted from an article at Acquris Media: http://www.acquris.se/media/index.php?id=&lang=en with some info from Wikipedia. If there are major errors — don’t sweat the small stuff! — please let me know.
Andy Burr — http://www.BurrightLights.com

